AT Command
Specific Steps
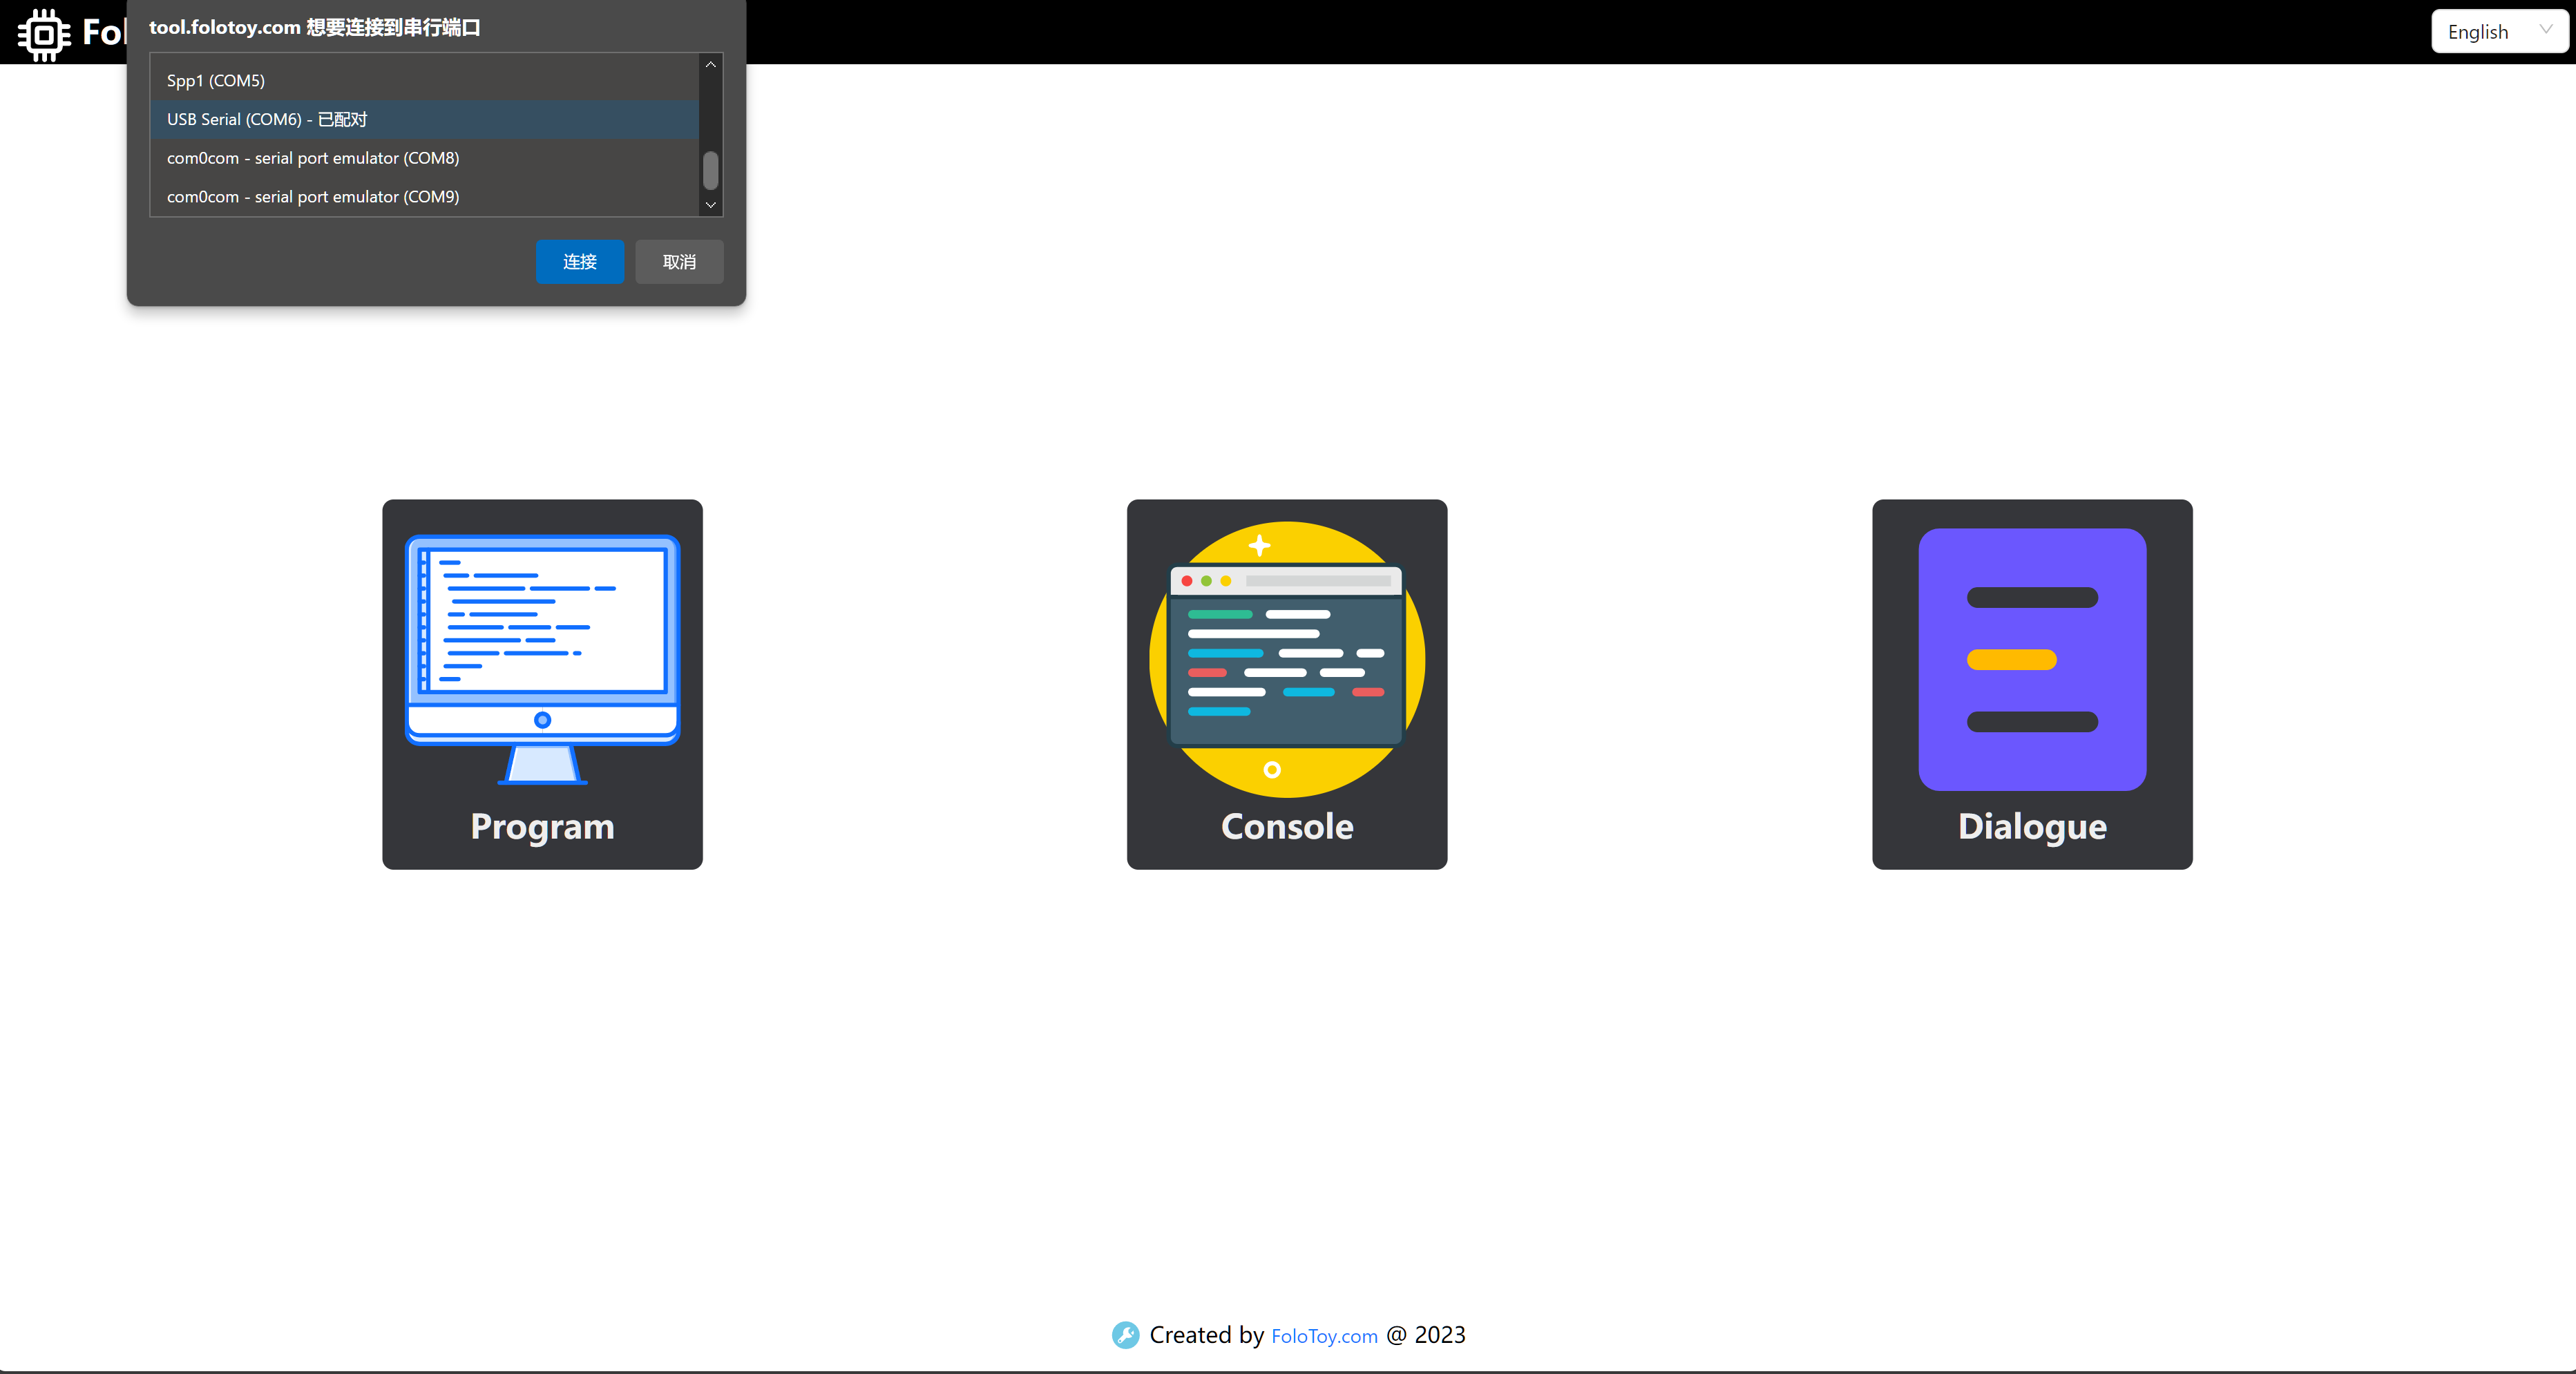
Connect the interface expansion board to a PC using the provided Type C data cable.
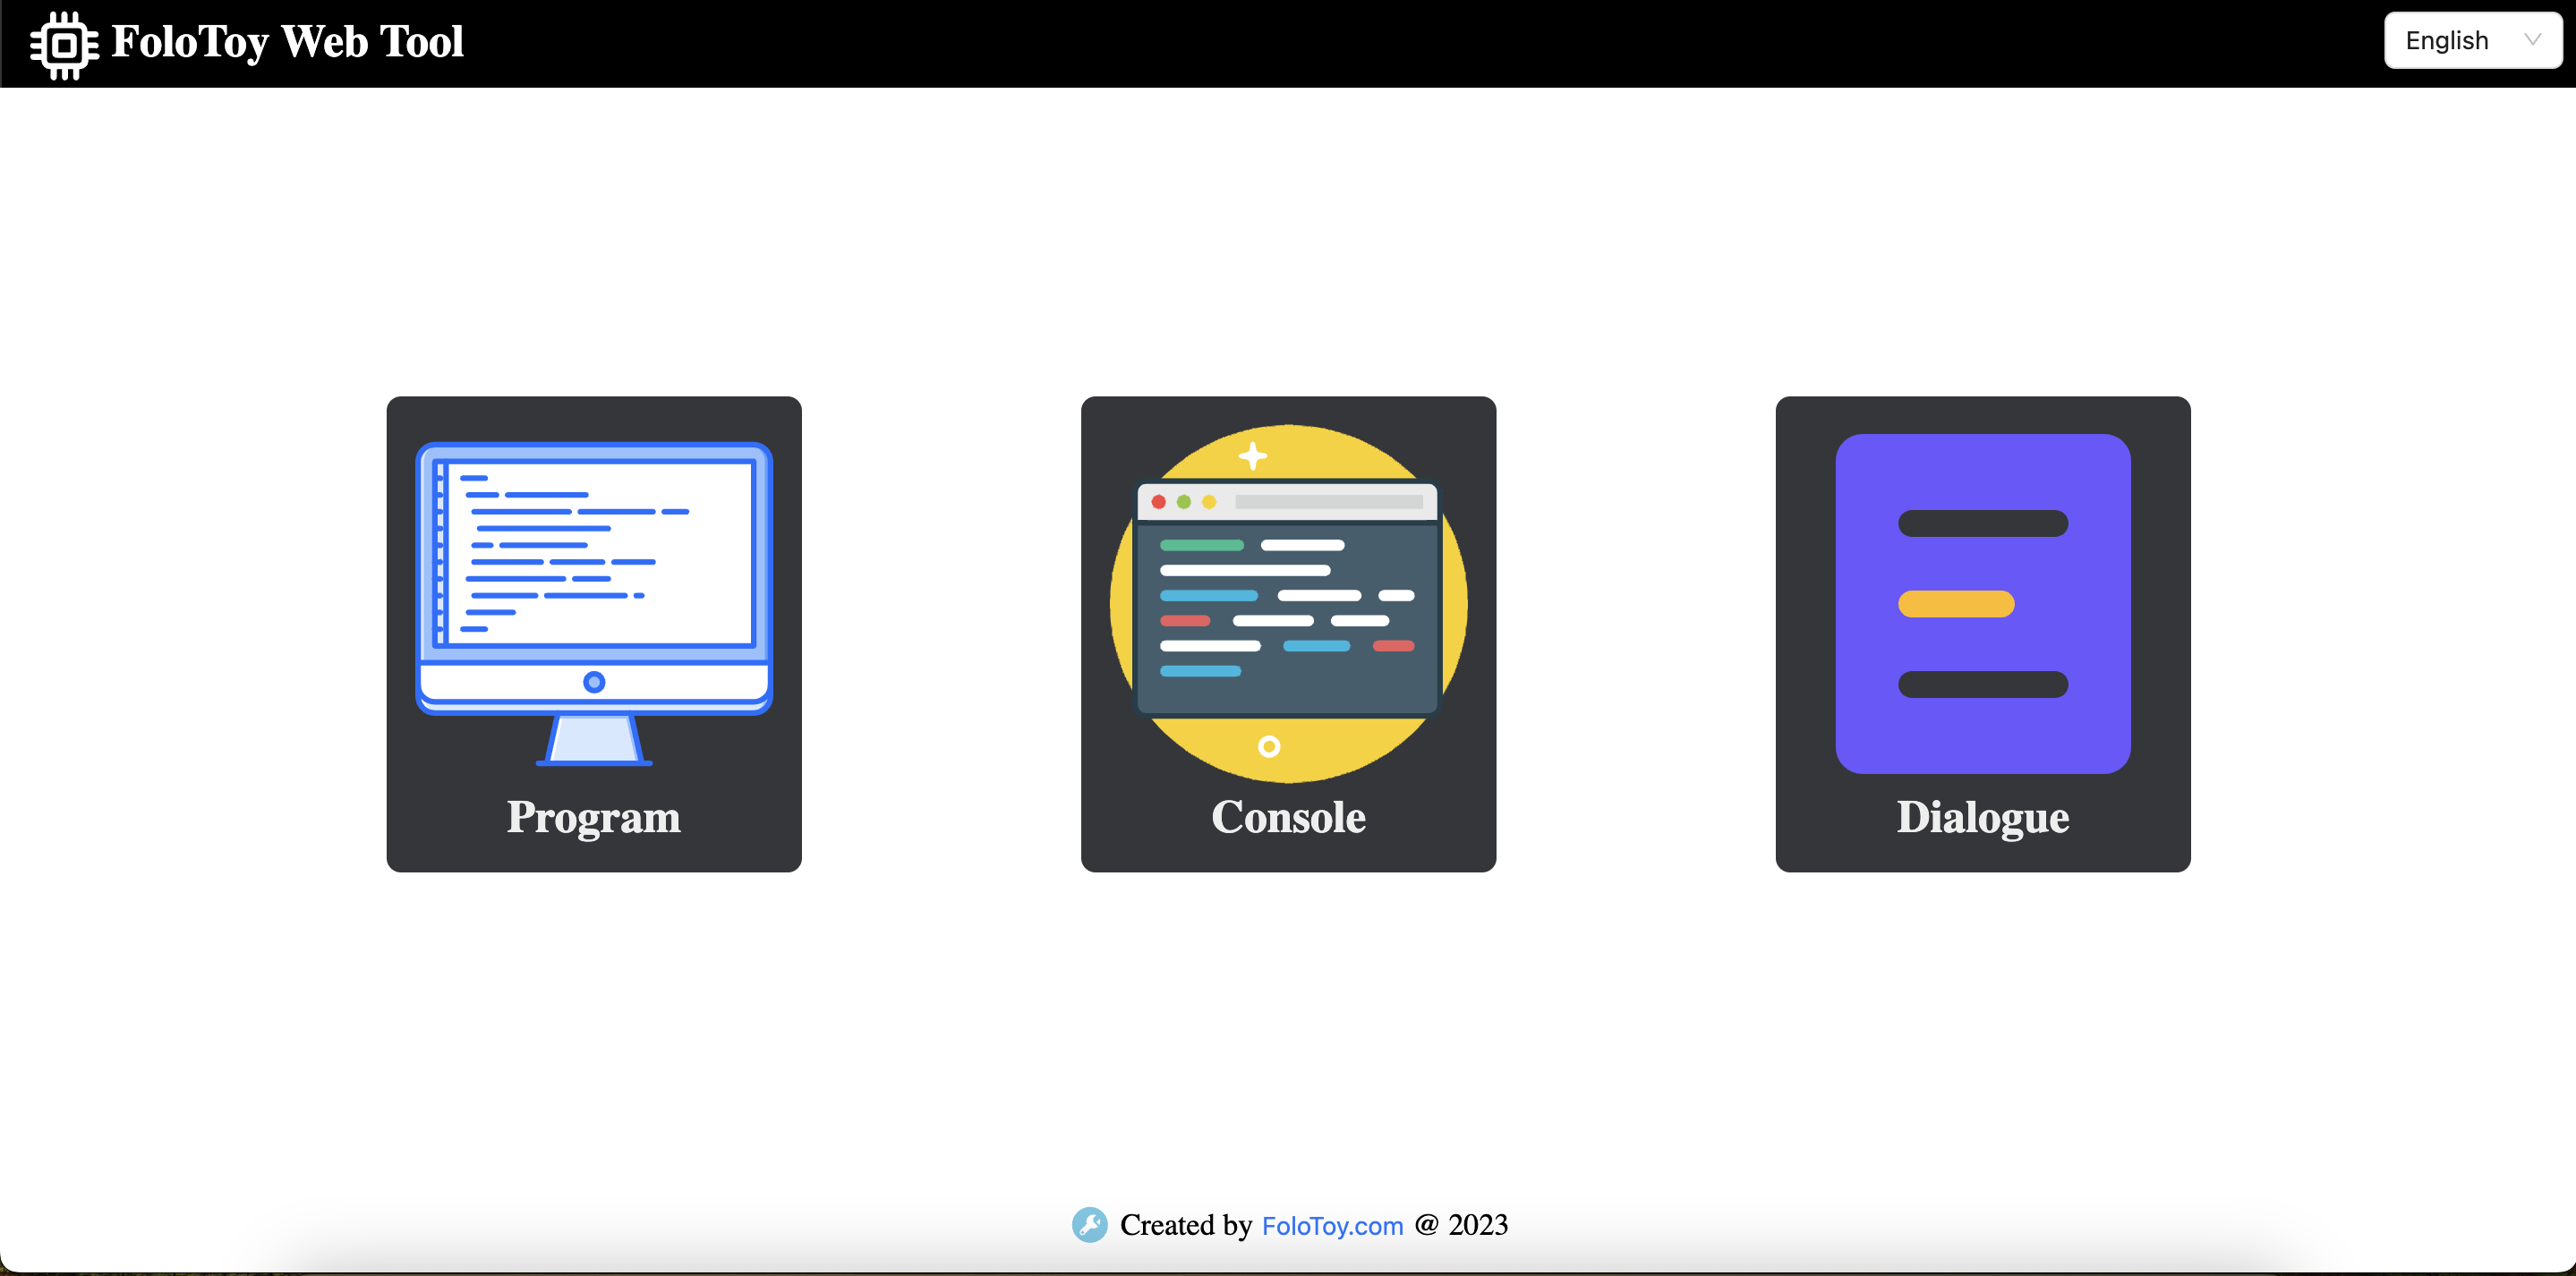
Open the web tool and navigate to the logs.
Select the serial port for the kit and click "Connect."
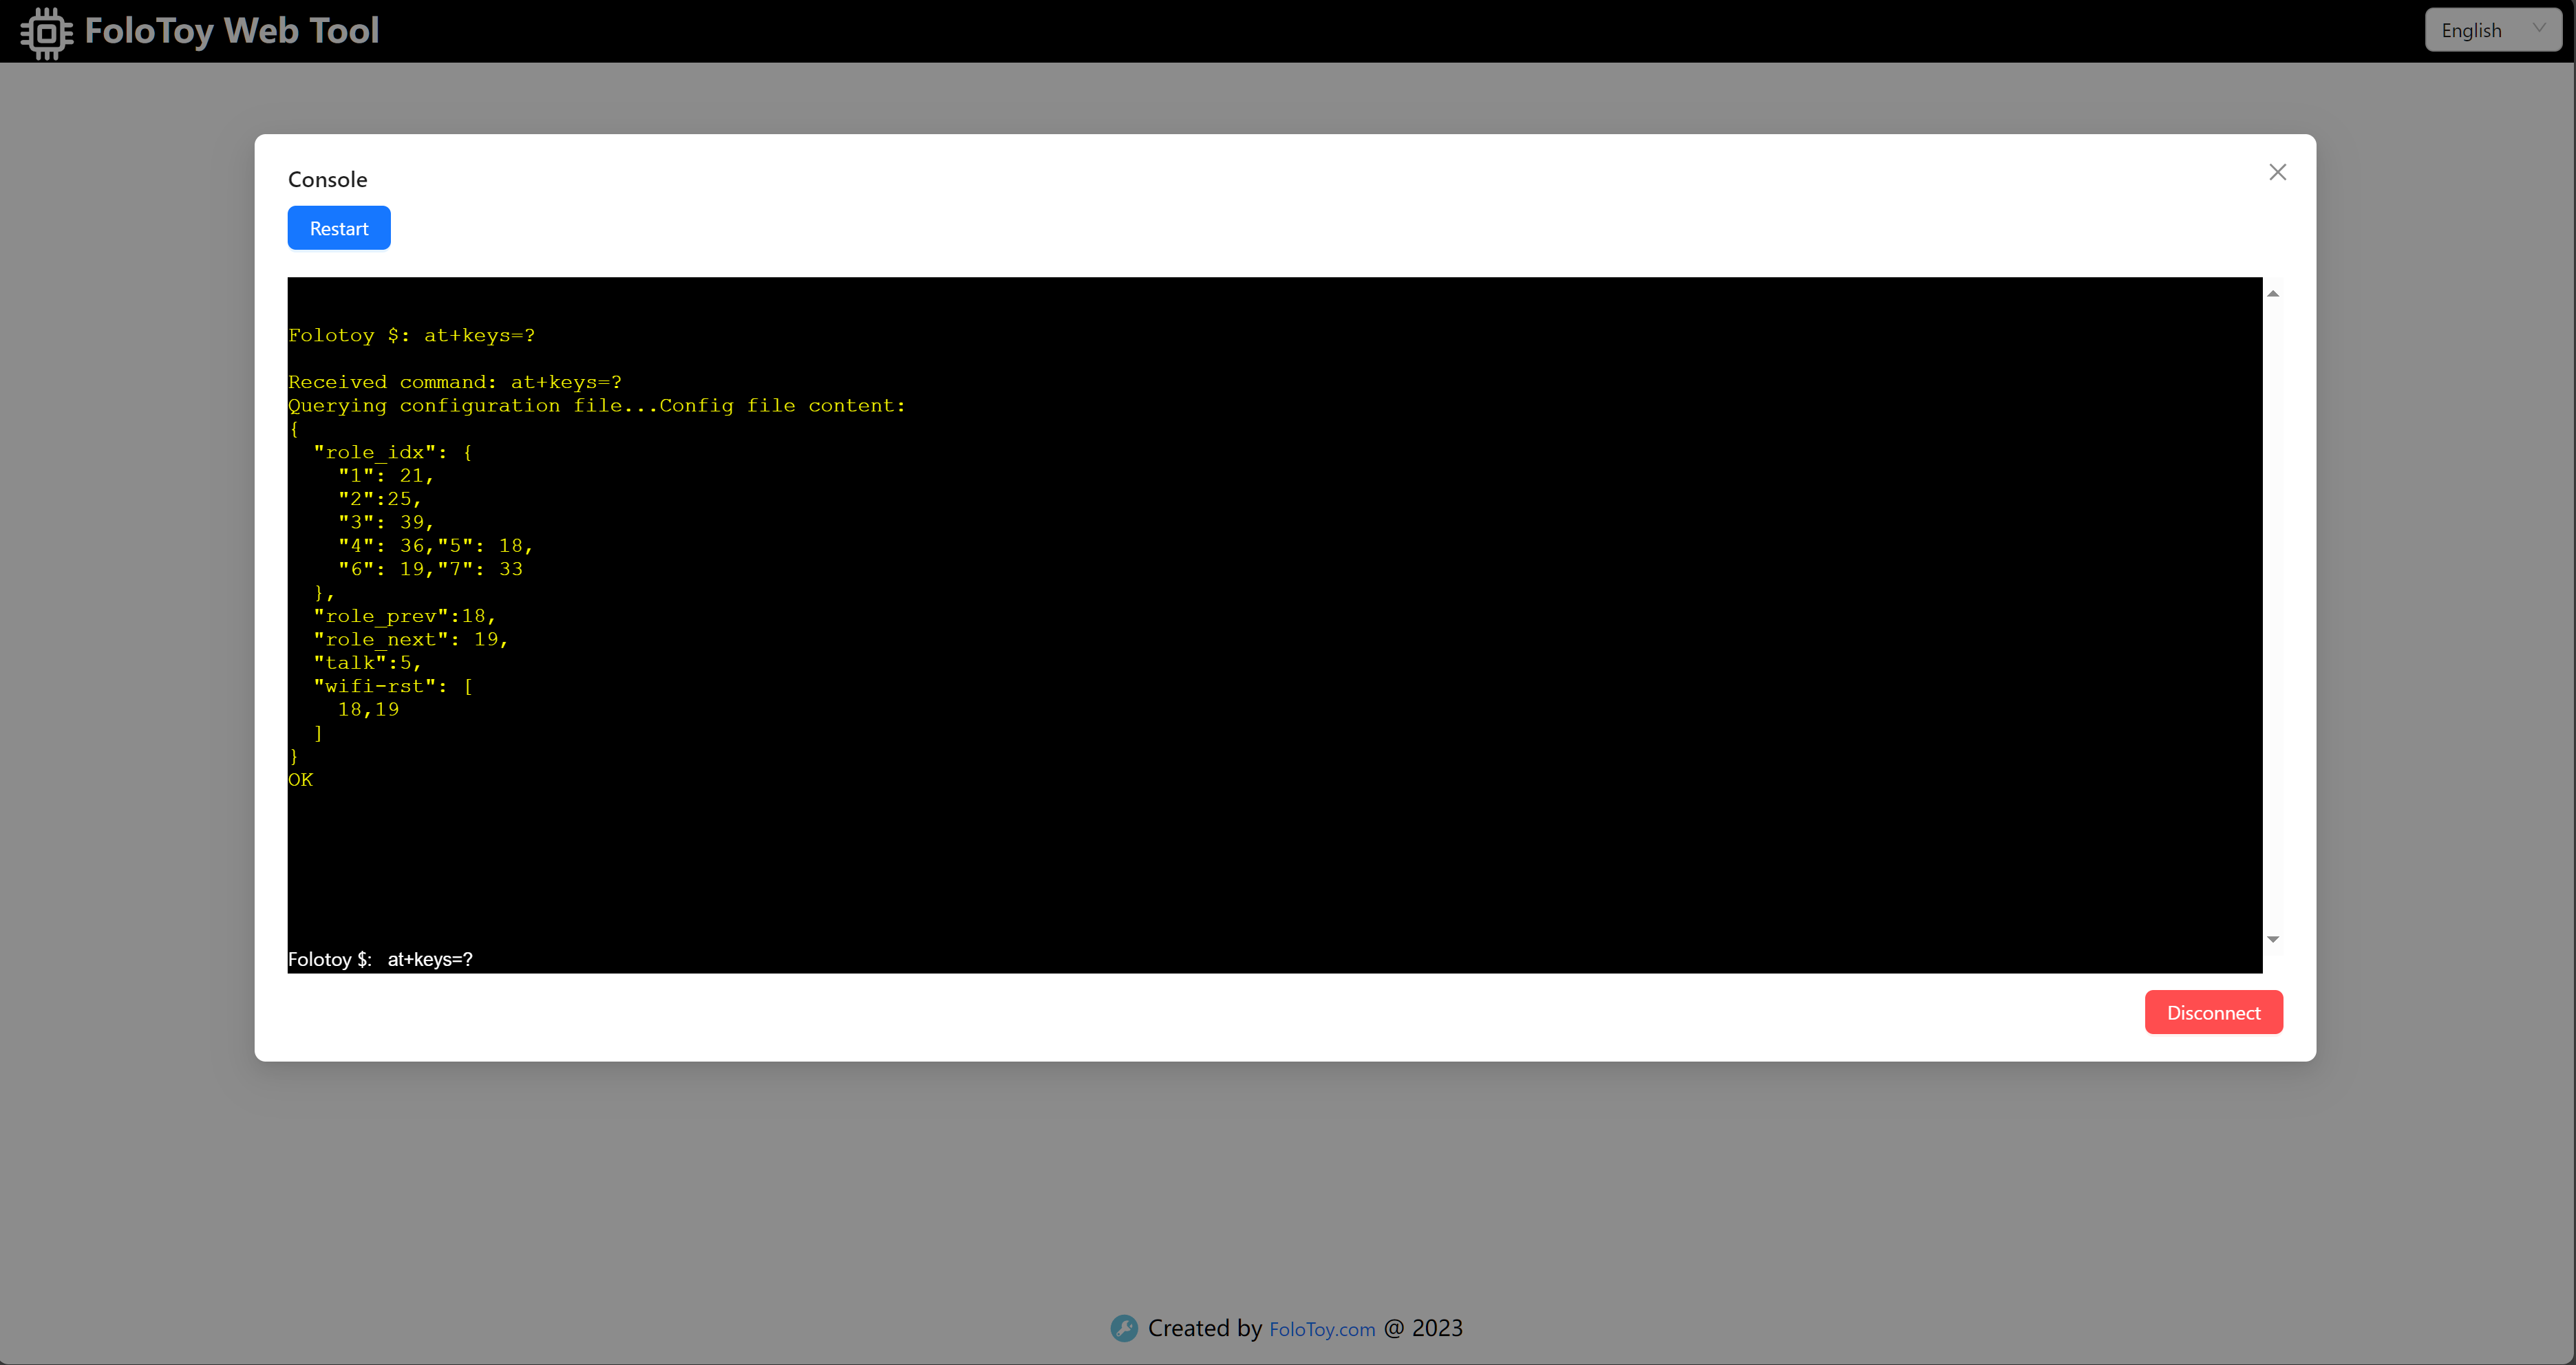
Enter the AT command in the pop-up log box.
AT Commands
changes take effect after reboot. Only English input and lowercase letters are supported.
View configuration file:
at+config=?
View all supported AT commands:
at+command=?
View key configuration(Only supports Octopus):
at+keys=?
Configure talk key(Only supports Octopus):
Example: Define talk key as GPIO 27
at+keys=talk,<GPIO> // at+keys=talk,27
Configure WIFI reset key(Only supports Octopus):
Example: Define WIFI reset key as GPIO 29 and GPIO 30
at+keys=wifi_rst,<GPIO>;<GPIO> // at+keys=wifi_rst,29;30
Reboot device:
at+reboot
Configure role(Only supports Octopus):
If not configured, the default role ID is 1.
Example: Define GPIO 22 as the key for role 1
at+keys=role_idx,<index>,<GPIO> // at+keys=role_idx,1,22Example: Remove key definition for role 1
at+keys=role_idx,<index>,<GPIO> // at+keys=role_idx,1,0
Configure switch role key(Only supports Octopus):
Example: Configure GPIO 27 to switch to the previous role
at+keys=role_prev,<GPIO> // at+keys=role_prev,27Example: Configure GPIO 28 to switch to the next role
at+keys=role_next,<GPIO> // at+keys=role_next,28
Modify MQTT configuration:
Example: Modify the broker to 192.168.52.1
at+config=mqtt,broker,<broker> // at+config=mqtt,broker,192.168.52.1Example: Modify the port to 1883
at+config=mqtt,port,<port> // at+config=mqtt,port,1883Modify both the broker and port simultaneously
at+config=mqtt,broker,<broker>;port,<port> // at+config=mqtt,broker,192.168.52.1;port,1883
Modify WIFI configuration:
Example: Modify the SSID to "test-wifi"
at+config=wifi,ssid,<ssid> // at+config=wifi,ssid,test-wifiExample: Modify the password to "123456"
at+config=wifi,password,<password> // at+config=wifi,password,123456Modify both the SSID and password simultaneously
at+config=wifi,ssid,<ssid>;password,<password> // at+config=wifi,ssid,test-wifi;password,123456
Configure Sound Thresholds
Command:
at+config=common,voice_start_threshold,<value>Description: Configure the start threshold, with a range of 50dB-80dB.
Example: Modify the sound trigger threshold to 60dB
at+config=common,voice_start_threshold,60
Command:
at+config=common,voice_end_threshold,<value>Description: Configure the end threshold, default is the start threshold - 5.
Example: Modify the sound end threshold to 55dB
at+config=common,voice_end_threshold,55
Modify the timeout for waiting the server response
Example: Modify timeout to 50 seconds
at+config=common,timeout,<seconds> // at+config=common,timeout,50
Reset WIFI and enter pairing mode:
at+command=wifi,reset
Switch recording mode
at+command=record,click // click the recording button to enter the recording, and it will automatically end after the recording is completed
at+command=record,press // press the recording button to enter recording, release the button to end recording
at+command=record,continuous // click the recording button to enter continuous conversation mode
Start a conversation (According to the recording mode above):
at+command=dialogue,start // enter conversation
at+command=dialogue,stop // exit conversation
Open tip audio configuration
at+command=open_tip_type,open // open tip audio enable
at+command=open_tip_type,close // open tip audio disable
Voltage alarm configuration
at+config=common,voltage_alarm,<value> // setting voltage alarm, default 3.7
Voice Config
at+voice=test // enter voicetest mode, which can print volume logs during recording
at+voice=autoconfig // enter the volume threshold automatic configuration mode, which can automatically configure the volume threshold after 5 seconds
at+voice=normal // exit voicetest or volume threshold automatic configuration mode
Configure Earlight Brightness
// Sets the maximum brightness of the earlight, with values ranging from 0 to 255
at+config=common,led_brightness,<value>
Example: Set earlight brightness to 100
at+config=common,led_brightness,100
Volume Config
at+config=common,volume,<value> // Set the volume level, default to 100, with a range of values ranging from 0 to 100
at+command=volume_control_type,knob // Set to control volume through a knob
at+command=volume_control_type,config // Set to control volume through at command or mqtt command
Example: Changing the volume level to 100
at+config=common,volume,100
Recording start prompt sound configuration
at+config=common,record_begin_audio_type,<value> // 0-disable,1-enable
Dialogue end judgment duration configuration
at+config=common,no_sound_duration,<millis> // Unit:ms
Power reporting cycle configuration
at+config=common,send_battery_msg_time,<seconds> // Unit:s
Configure whether the cactus twists while speaking
at+command=io_output,true // Twisting
at+command=io_output,false // Not twisting
Wake word mode configuration
at+command=wake_up_mode,open // turn on the wake up mode
at+command=wake_up_mode,close // turn off the wake up mode
Standby mode (Applicable to Magic Box and Cactus Firmware Version 24.20.4.31 and Above)
at+command=standby_mode,open // turn on the standby mode
at+command=standby_mode,close // turn off the standby mode
at+config=common,standby_time,<seconds> // Unit:s
Configure speech recognition(Only supports magicbox-pro):
at+command=asr_mode,open // turn on
at+command=asr_mode,close // turn off
Recording encoding issue on self-hosted servers (Firmware version >= v25.51.5.60)
If your toy's firmware version is >= v25.51.5.60 and you encounter an error message similar to the following when using a self-hosted server:
Wrong record event b'\x00' found
Please configure your toy's working mode via our webtool (https://tool.folotoy.com, or if you are in China, you can use our service in China at https://tool.folotoy.cn):
at+config=common,use_record_enc,false
at+config=mqtt,port,1883
After completing the configuration, please restart your toy. You can use the following command to restart:
at+command=restart,now